No coding, credit card, & upfront payment required

NO sophisticated tools to confuse you. Self-Service Video Guides make everything super-easy.
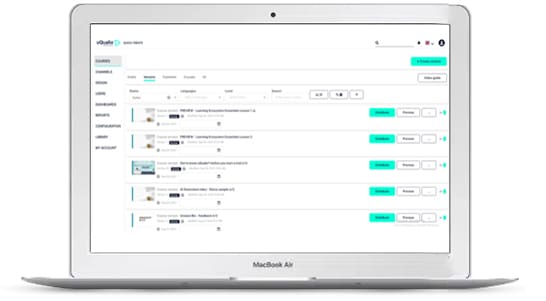
Simple yet powerful Course Management so that you always stay on top of your uQualio account!
All wonderful things start with a draft and so does your first course on the uQualio.

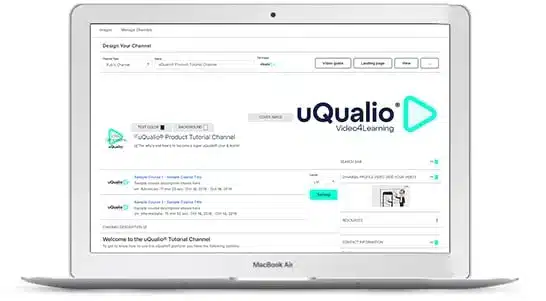
To manage and organize your video training courses, you have three levels: the directory, the channel, and landing page.
You can choose to add a Directory Level to the platform, and you can enable (or disable) the Directory, where all your courses, channels, and users are displayed.
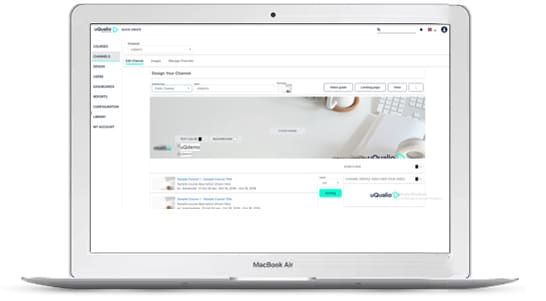
A channel works as a playlist for your video courses and acts as an excellent way to organize and distribute your courses. All courses are published on one or more channels, where you can give users different access rights, including as a standalone course, only accessible via a link.
You can create individual channels for different training programs specific to different departments internally within your organization, or only for external partners, or as a mix between internal users and extended enterprises, or for your customers as end-users.
Available as an add-on, the Landing Page can be designed for any purpose.

The uQualio video4learning LMS is also an excellent content distribution platform, with a range of “basic” and “advanced” settings that help you customize course distribution to match your needs.
A course can be distributed in three different modes, with multiple advanced distribution settings to match your specific needs.
Under the “Distribution” Settings, select one of the three options below:
This adds the course to your channel(s).
Choose from the three options below:
On Channel: The course will be listed on the channel(s) selected.
Via Link: The course will be shown to admins on the channel, but users will not be able to see it on the channel. It can only be accessed via the link.
Standalone: The course does not have a channel button that leads them to other courses, so it stands alone.
You can define how long you want the course to be active by choosing the start and end dates, and times – or even leave it open-ended.
You can choose to allow the users to share the course (applicable to public and protected courses), and the badges/certificates achieved by them on social media.
If you have activated an eCommerce subscription on the platform, you can turn your Course into a “Sales” item. A sales course is shown to both anonymous and authenticated users. People buy access to a sales course directly on the platform with their credit card.
If you want to further customize “Course Distribution,” see: “Advanced Distribution Options.”
Invite users with the following ways:
Add New: Manually enter email or phone number to add one or more users.
Add Existing: Click the user you want to add.
Upload Users: Upload more users by using the file template without changing the rows.
User List: Add an existing user list to the course.
Decide how you want to invite users
Before the invitation is sent out, you get a summary overview of all your choices, specific to the course to be distributed.
Publish online courses easily with higher levels of customization on the uQualio video training platform. Advanced Distribution options give you access to additional course distribution-related settings that allow you to set different parameters to support varied uses of your video eLearning courses, such as:
Under Advanced Settings, you can do the following:
If your course has more than one video, you can decide how they present them to the user.
If your course has more than one video, you can let the user receive the course as drip training.
Remember to activate Schedule Invitations under this section, as this enables the system to send out a new notification at the beginning of each interval.
The options here allow you to choose how the Test should be set and displayed.
This feature activates a lead generator for your content.
You can set the location where the user will be navigated after passing or failing the test.
You can automate the uQualio’s Online Course Management System with “Programs.” Automating “User” and “Group” Management with Programs makes operations simpler, eventually minimizing risk of errors and saving time on standard processes.

The uQualio video eLearning platform’s course management system allows you to manage your courses and users with ease.
Once the course is distributed, you may want to look at the Course Page to better monitor and manage it. Note that all course widgets can be turned “on” and “off” under Configuration > Settings > Course Widgets.
Here, you can track users’ activities and see “Badge” distribution.
On the Course Page, you can send a message to all the users by clicking “Send Message.” This can be done by selecting one of more options below:
Click “Reports” to see the course-specific report’s data and find feedback from the users.
In the uQualio account, you can manage user access to the platform.
On the uQualio video4learning platform, you can assign course management roles across your team or organization.


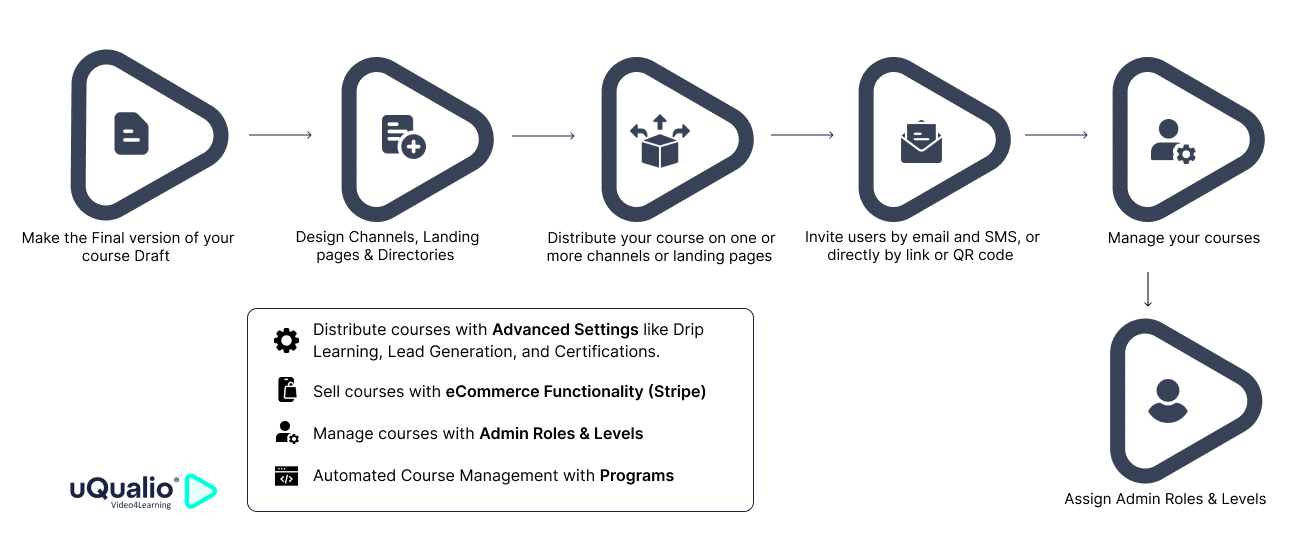
Save your unready courses in “Drafts.” Rework them as many times as you want until they are ready to be published/distributed.
Create and customize channels, so that you can add your course to one or more channels (public or private), or landing pages.
Invite learners publicly, privately, or in protected mode. Take advantage of the “Advanced” Settings for additional customization options.
Assign admin roles and levels for course creation, distribution, and/or management. Automate course management with Programs.
Our contribution to making video eLearning easy and affordable has won us several awards.
Yet another reason to use our award-winning video eLearning platform for your next training project.


Copyright uQualio® 2024
Our newsletter contains high-quality useful content.
We promise not to spam you with irrelevant information.
Copyright uQualio® 2024